Last year Countdown did a promotion where you could get free items (through purchasing groceries) to fill a supermarket. You needed to purchase the Supermarket base ($15) and you could buy other accessories which included a home delivery truck, a truck and trailer and an EV car. What came free with grocery purchases was what could fill a supermarket like shelf units, checkouts, trolleys, people, groceries etc.
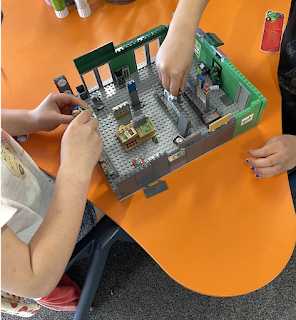
I saw one set up in a Year one class today. It is one of their favourite activities. What was interesting about this story was that this is a school in the Far North, where they don't have a Countdown but someone had purchased it for the teacher. Even though this school is isolated children can still relate about going to the supermarket. One particular child who has anxiety issues found playing with the supermarket relaxing and soothing as it was something that was part of her real life. You could hear the students talking about what they were doing and what they were changing in the scenario they created. Other students would want to play with it all the time so the teacher had to put it away and bring it out at certain times.
This is perfect for writing prompts as all students could relate to the authentic, real experience of visiting a supermarket. They could set it up the way they wanted to view it and write about it. Photos could be taken and used for final publishing.
Older students and younger students with support could use the supermarket in stop motion, it could be used with a green screen and movies could be made. More writing could happen around this.