Showing posts with label Visual Diorama. Show all posts

Tuesday, 10 March 2009

PowerPoint, Visual Dioramas, Screen Beans and Animation


I was with a teacher yesterday who had been working with children on my 'Visual Diorama' idea. Some of her kids had discovered 'Screen Beans' and had been adding them to their Dioramas. She wanted to know how to make a slideshow of all of her class dioramas. Once I showed her that I suggested she might like to try a simple animation using the Screen Beans and the Backgrounds in PowerPoint.

Step One
Search for a suitable background in PowerPoint by clicking on Insert - Clipart. Type in the search term background. Click on a background to select it. Resize it to fit the slide.
Step Two
Type in the search term 'Screen Beans' in the Clipart search box. Click on the screen beans of your choice. Place them on the first slide.
Step Three
Click on the slide in the slide preview panel, press Ctrl D (Command D for Apple) to duplicate the slide. Move the screen beans by clicking on one, then use the arrow keys on your keyboard to move them one or two spaces. Duplicate that slide. Repeat until you have finished your animation
Step Four
Go to Slide Transition and deselect on Mouse Click and click on Automatically After and leave the timing at 00.00
Press F5 or click View Show to play your animation.
For it to work really well, you will need a lot of slides. For five seconds of animation I created 46 slides.
This activity is great fun, very quick to do and a great introduction into the world of animation!

Monday, 24 March 2008

PowerPoint and Visual Dioramas


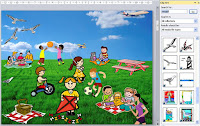
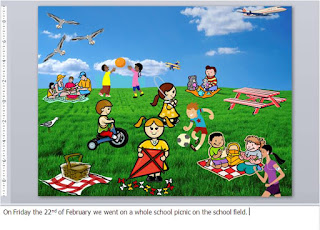
Jenny has been using Kidspiration to make picnic scenes. I suggested that she should try a visual diorama next. A visual diorama is a background photo placed on one slide in PowerPoint


and then children find graphics that have no backgrounds and place them on the photo. They can build up a story by what they place on the photo background. This is the ideal opportunity to teach children how to resize and move graphics on the page. More able students could also learn how to move graphics behind and front of other graphics. This is also the ideal time to identify those visual spatial students, the ones who are aware of space and perspective.


An extension to this activity is to use the presenter note space below the slide. Children can type a story here, this could be a draft or the final published view.

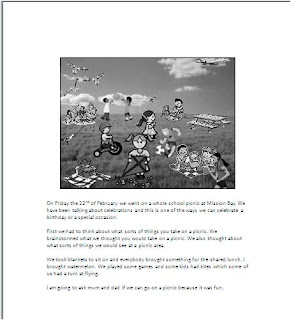
To print it out, make sure when you go File - Print and select the Notes option .


It will print out looking like this.


Or you could add lines to the Presenter note space using a simple trick like this
  • Click in the Note space
  • set your font size to at least 26
  • hold down your Shift key
  • tap or hold down the minus/underscore key on the keyboard
  • the page will fill up with lines
  • this can then be printed out and the children can write directly onto the lines


This is a great writing motivator for children as they create their own stories out of the pictures they have chosen.